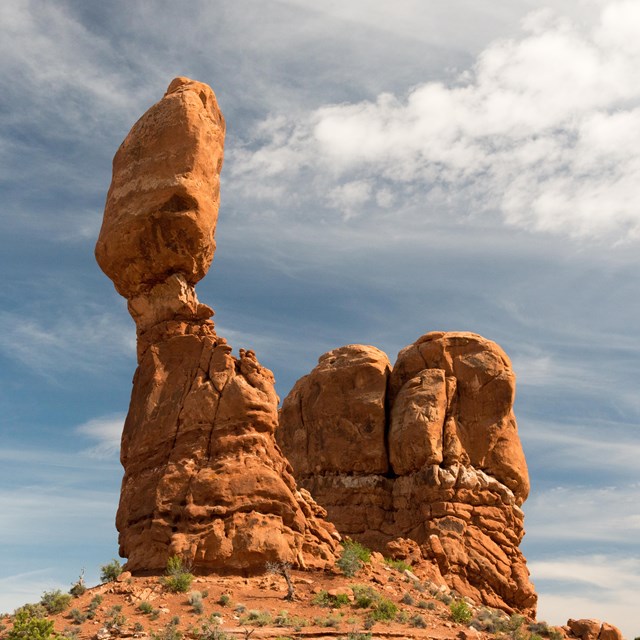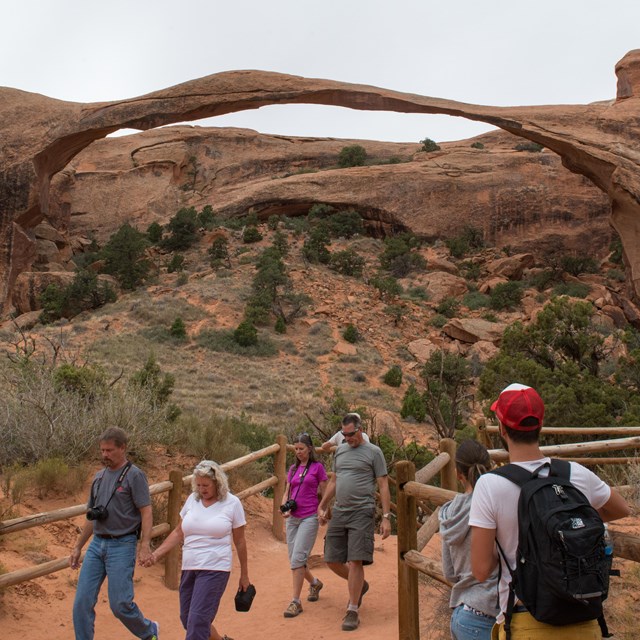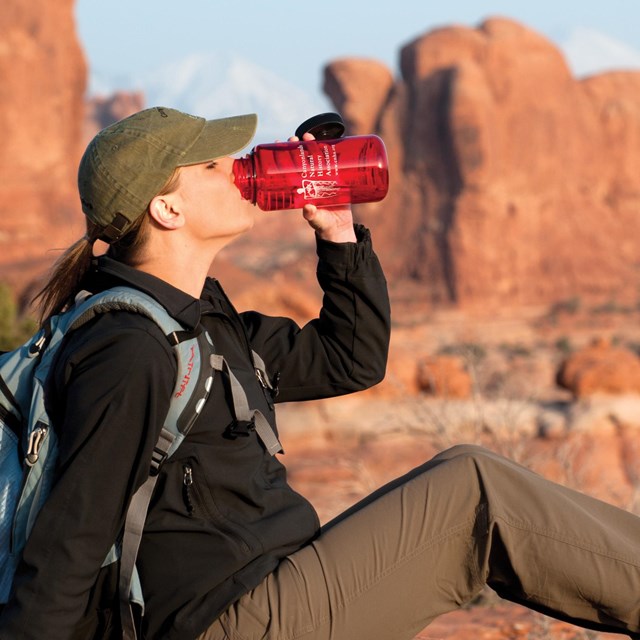
NPS/Chris Wonderly Delicate Arch at sunset might be the most famous image to photograph in the park, but it certainly isn't the only one, nor is it necessarily "the best." In this land of wonderous rock shapes, timeless vistas, and piercing contrasts, visitors are literally surrounded by compelling subjects for photographs. When choosing where to focus, pay attention to composition and lighting. 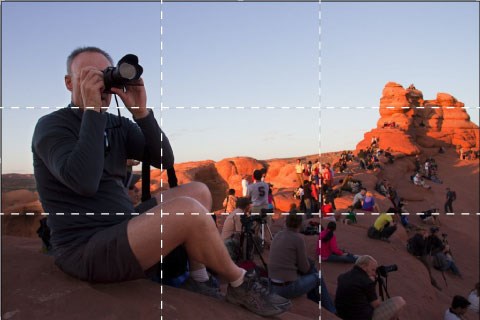
NPS/Andrew Kuhn Frame your FocusLook at a really good photograph and you'll find the subject is placed off-center, and probably falls along an imaginary line that connects the opposite corners of the frame. Or, the "Rule of Thirds" draws an imaginary 3 x 3 grid (top to bottom and right to left) and places subjects at the intersection of a horizontal and a vertical line in that grid. However you arrange subjects, fill the frame! If your subject fills only 10 percent of the picture, the other 90 percent probably is wasted. You might need to move in closer, use a zoom or a longer focal length lens. Then, look closely at what the lens sees. Is there a yucca plant sticking out of the top of someone's head? Is the red car in the background more obvious than the kids in front of the arch? Focus on what really tells the story, and eliminate the rest. Places to GoThe features listed in the table below will serve as fine starting points for your photographic odyssey. Those places should keep your eyes - and shutter fingers - busy, but remember, they are just the starting points. Countless other opportunities will present themselves if you keep an open mind and simply respond to that place within you that says, "Wow, look at that!"
Watch Your StepThis land is every bit as fragile as it is beautiful. If you step off the trail or away from the pullout, you may injure its living surface. When biological soil crust is damaged, it can take centuries (literally) to recover. Allow others who will be inspired by your photos to come and see this land as Nature intended: organic and alive. 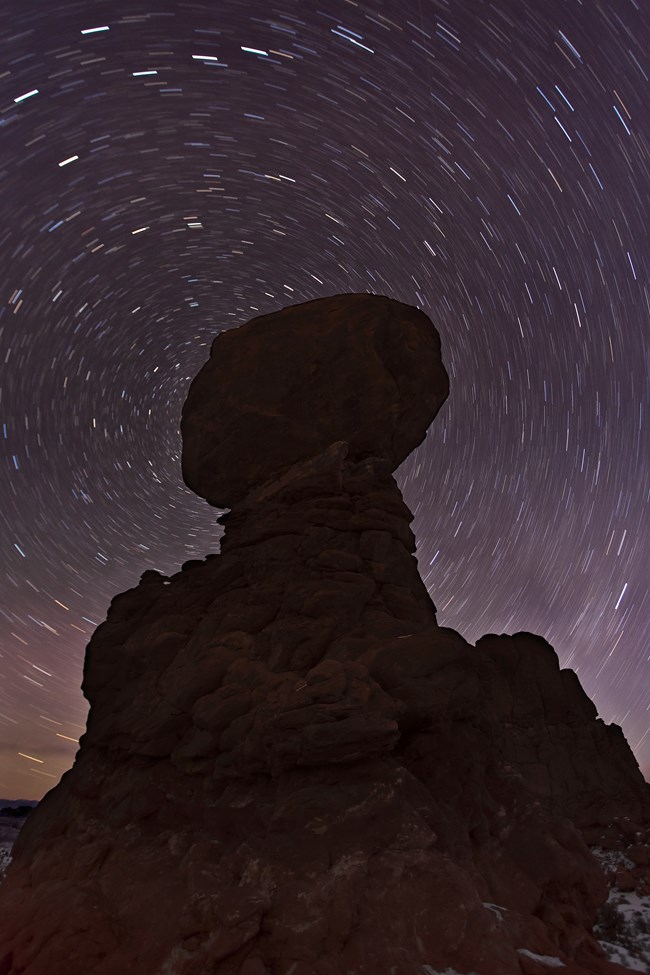
NPS/Jacob W. Frank Night PhotographyPhotographing the park after dark is a spectacular way to enjoy the unique landscape of Arches National Park. Here are some quick tips to improve your next astrophotography session: Make it Manual Make sure your camera is set to manual- this will give you more control over your settings and resulting photographs. Let the Light in When photographing in low light, you'll want to let as much light into your camera as possible. A long exposure lets you do just that. Experiment by lowering your shutter speed, keeping the shudder open up to 30 seconds. The longer it is open, the more light will fill your camera, and photo. Don't forget to play with your Aperture and ISO settings, which also control how much light enters your camera. Hold Steady When attempting a long exposure, blurriness is common, caused by any small bump or movement while holding the camera. To avoid blurriness, you'll want to hold your camera still using a tripod. Forgot your tripod at home? Setting your camera on the hood of a car, a backpack, or the ground works just as well. Experiment, Experiment, Experiment! Now you're ready to get out there and try night photography. The best way to hone your skills is to practice, and of course, have fun. Remember:Please note that using artificial light sources to light up landscapes, rock formations, or other park features is prohibited. Artificial light sources may be used for personal route-finding or minimum impact camping only. Learn more about rules and regulations regarding artificial light sources. 
NPS/ Will Pedro More Information
|
Last updated: April 18, 2025

